Building a smart speaker
Some years ago I built a small speaker together with a friend. It is set up as a speaker for Spotify and still in use.
I always wanted to build more, for example to put one in our bathroom, and since we recently moved into a larger apparment, the need for more speakers grew. This time, I wanted the speaker to also be decorative, so I decided to look for old wooden boxes online and convert one. ´
Almost immediately I found a wine box with a very nice logo and after buying it got to work. My plan was to pick an existing speaker kit and build it into the box and hide a Raspberry Pi with an amplifier board as well as a power supply inside too.
Based on the rough volume of the box, I picked the Cheap Trick 246 speaker kit. While trying to buy it online, I realized that the vendor is actually located close to where I live, so I decided to pick it up personally instead. They are somewhat remote and probaly don't get visitors that frequently. The guy that handled my order seemed to be very happy to have me, to show me around the workshop and explain all the different driver types they hand. It was difficult to leave again...
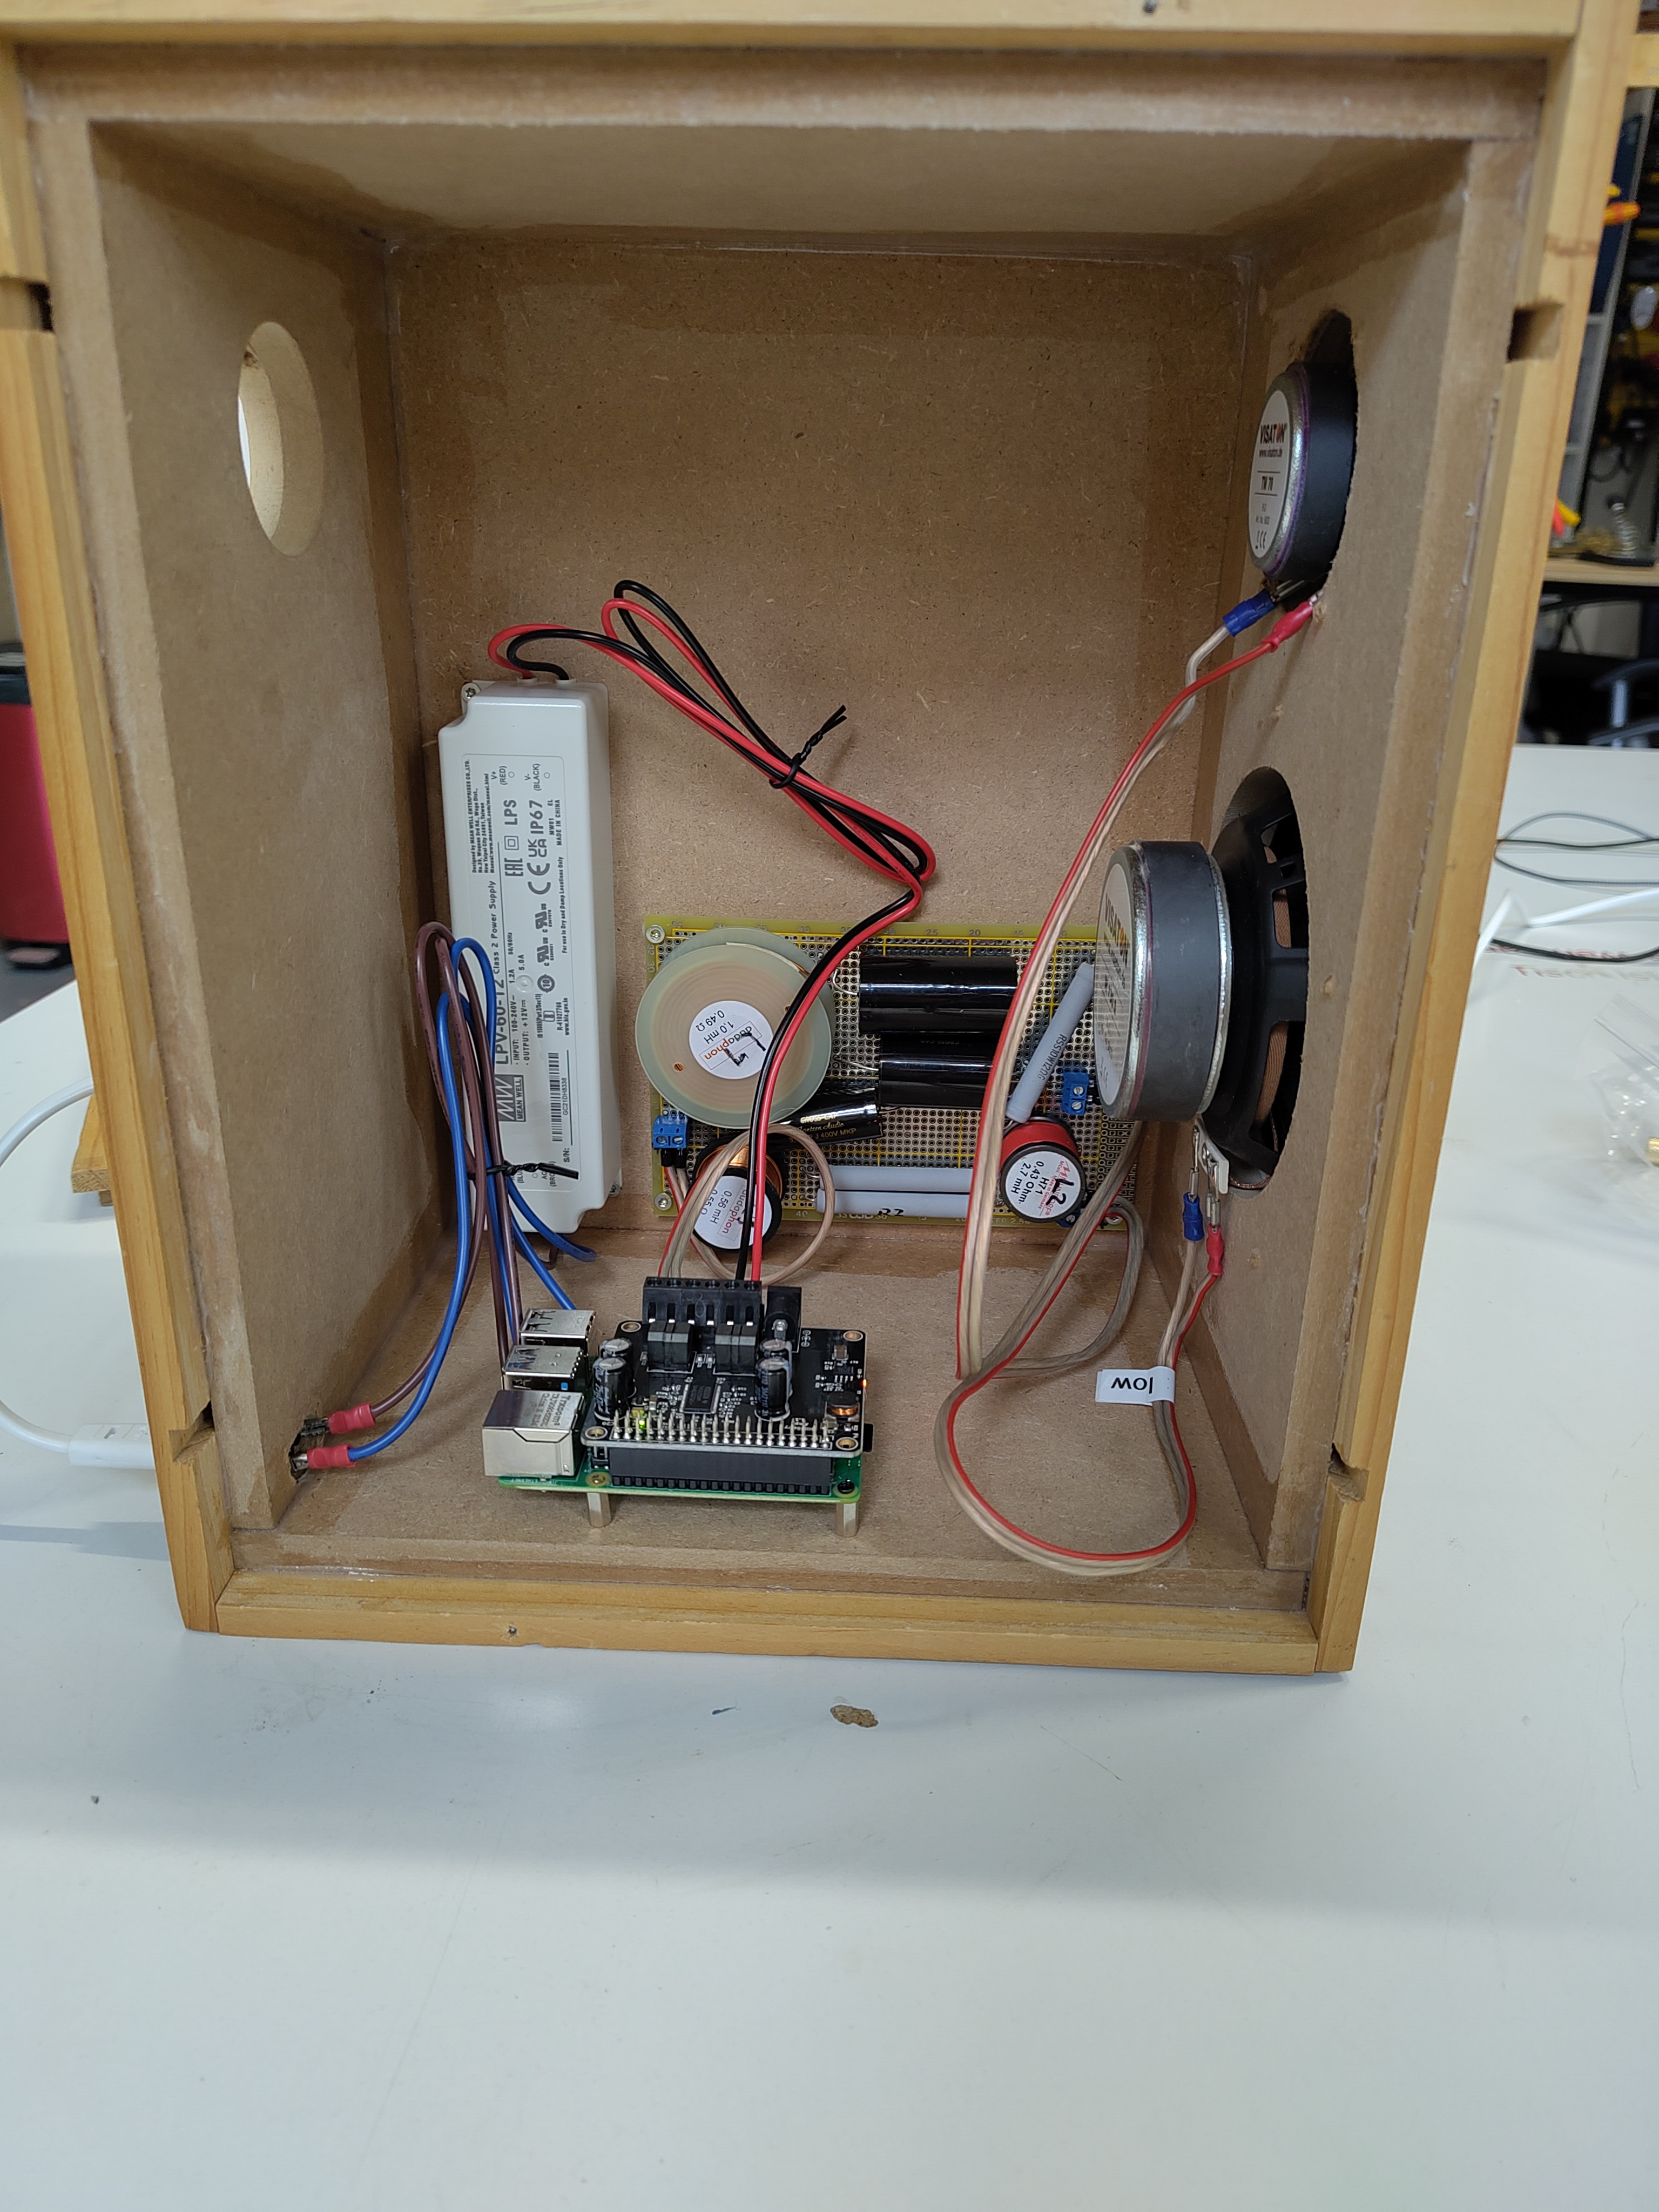
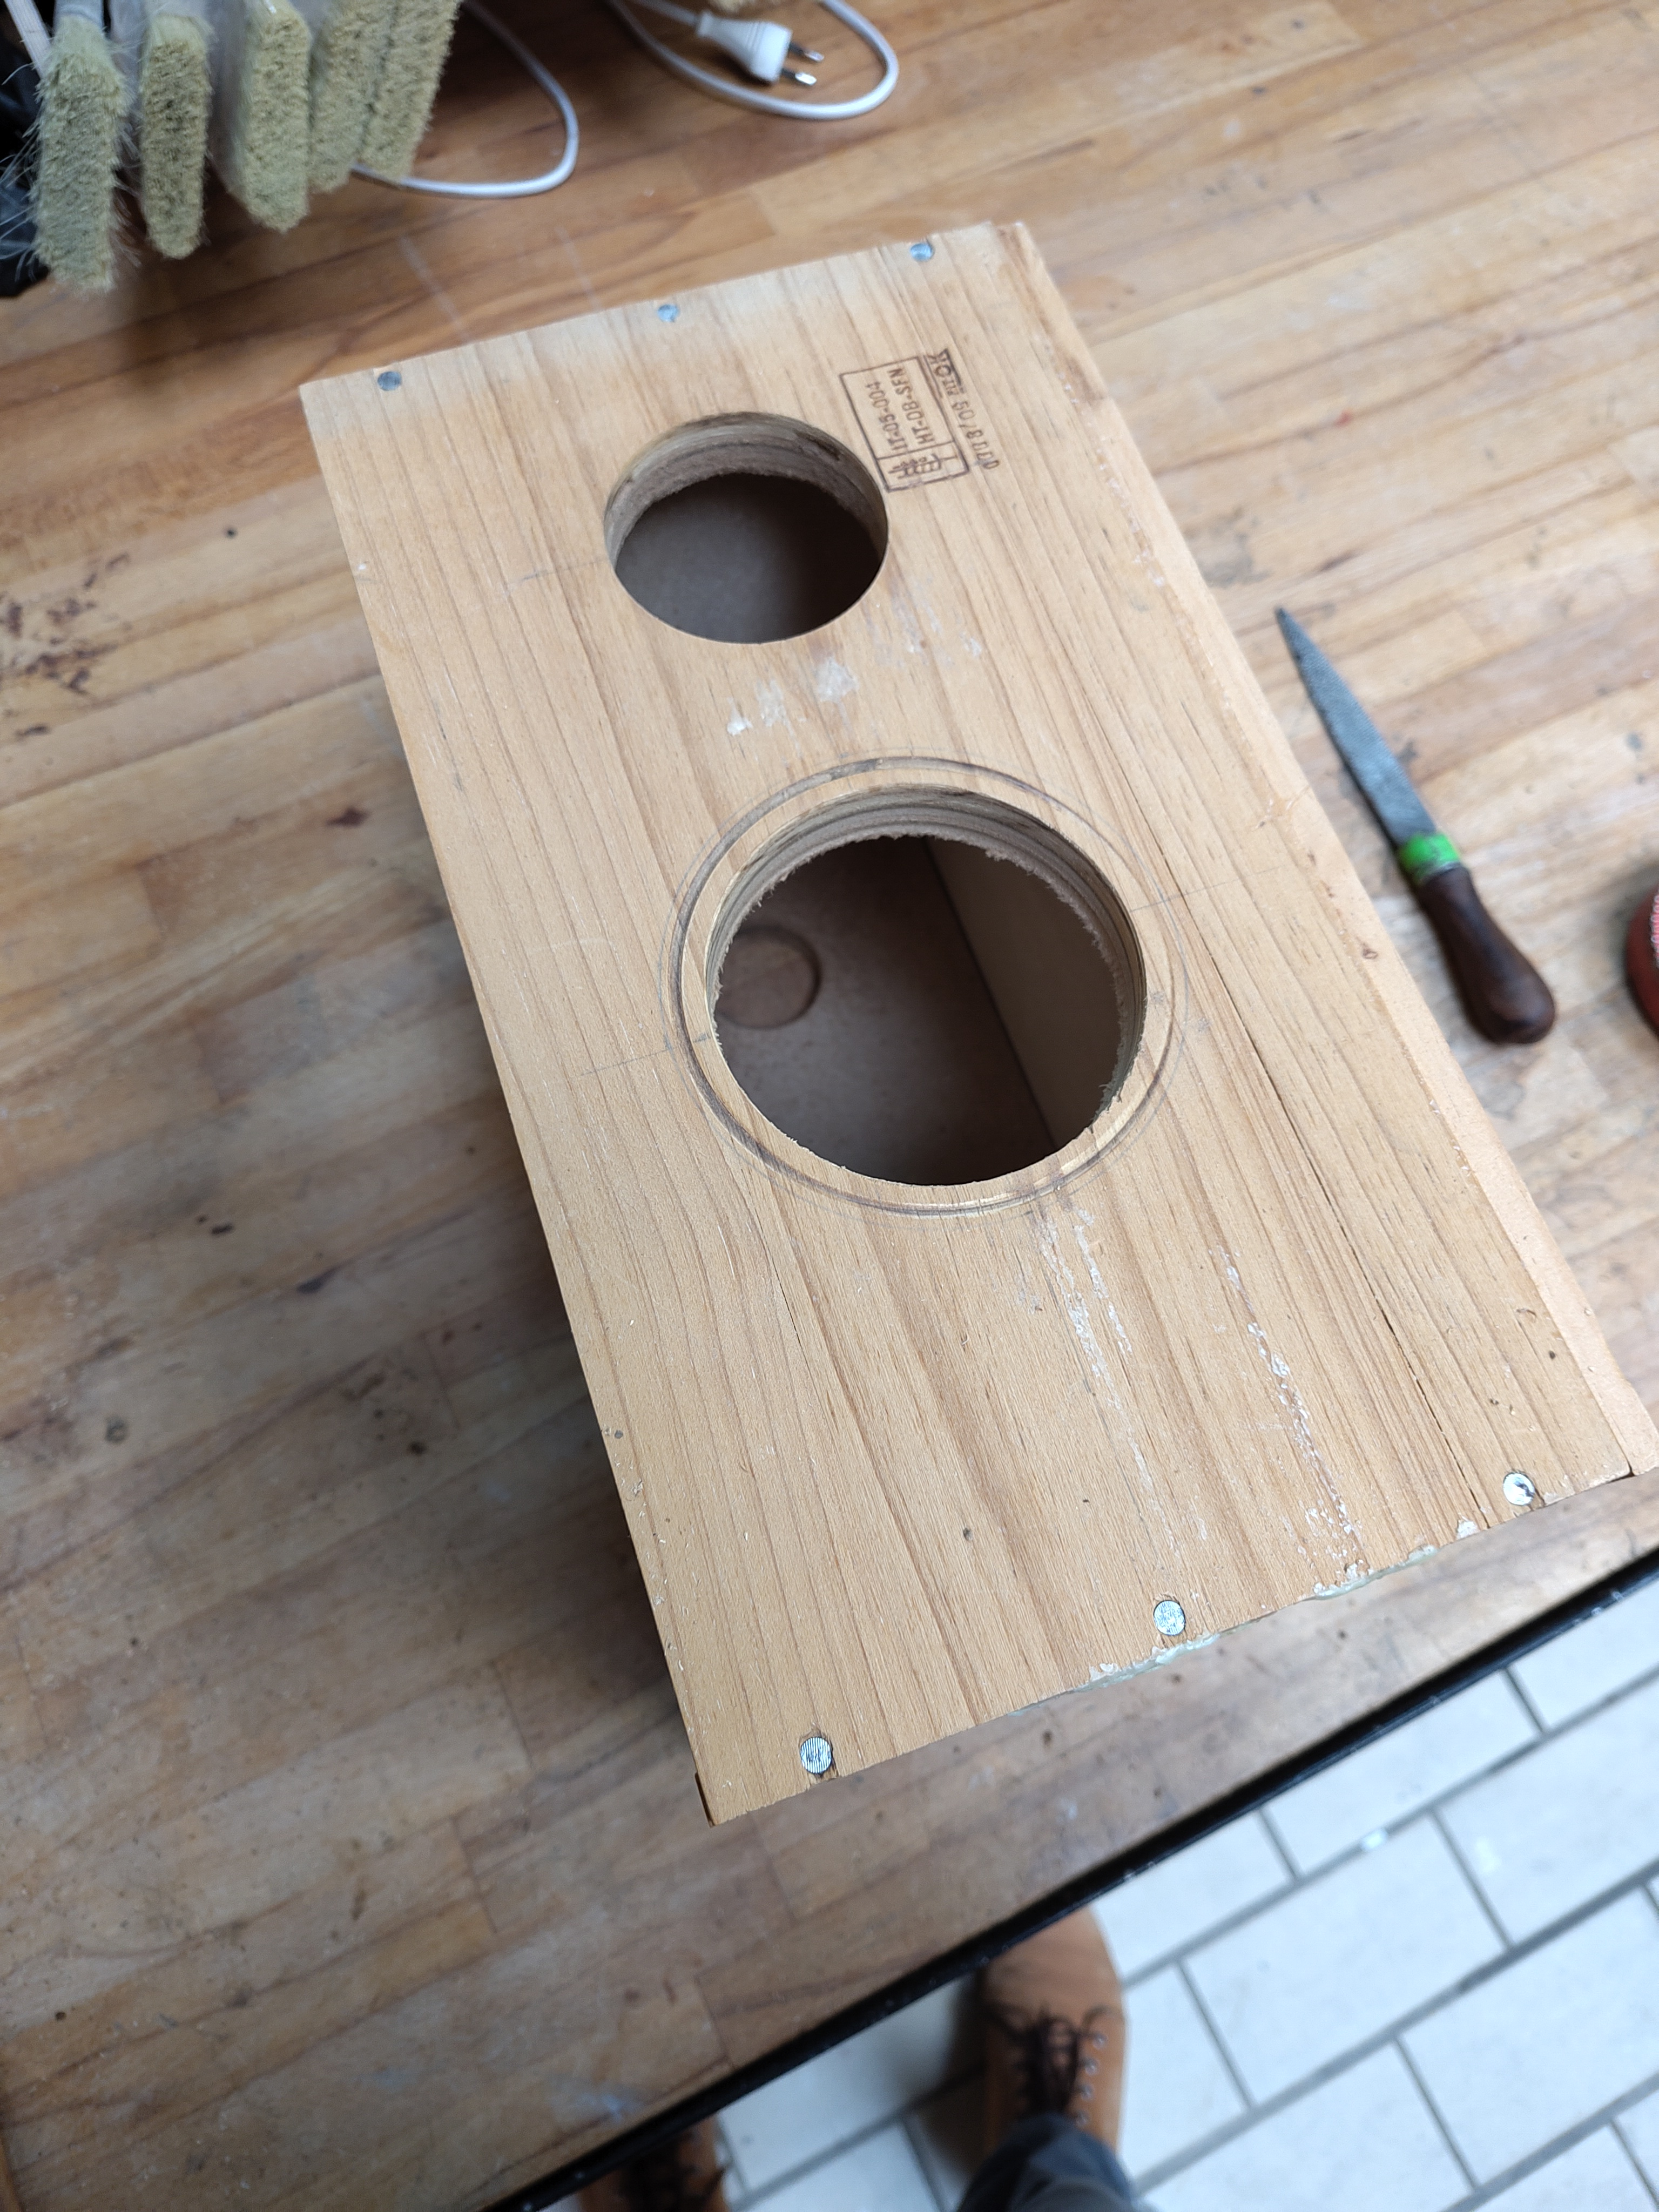
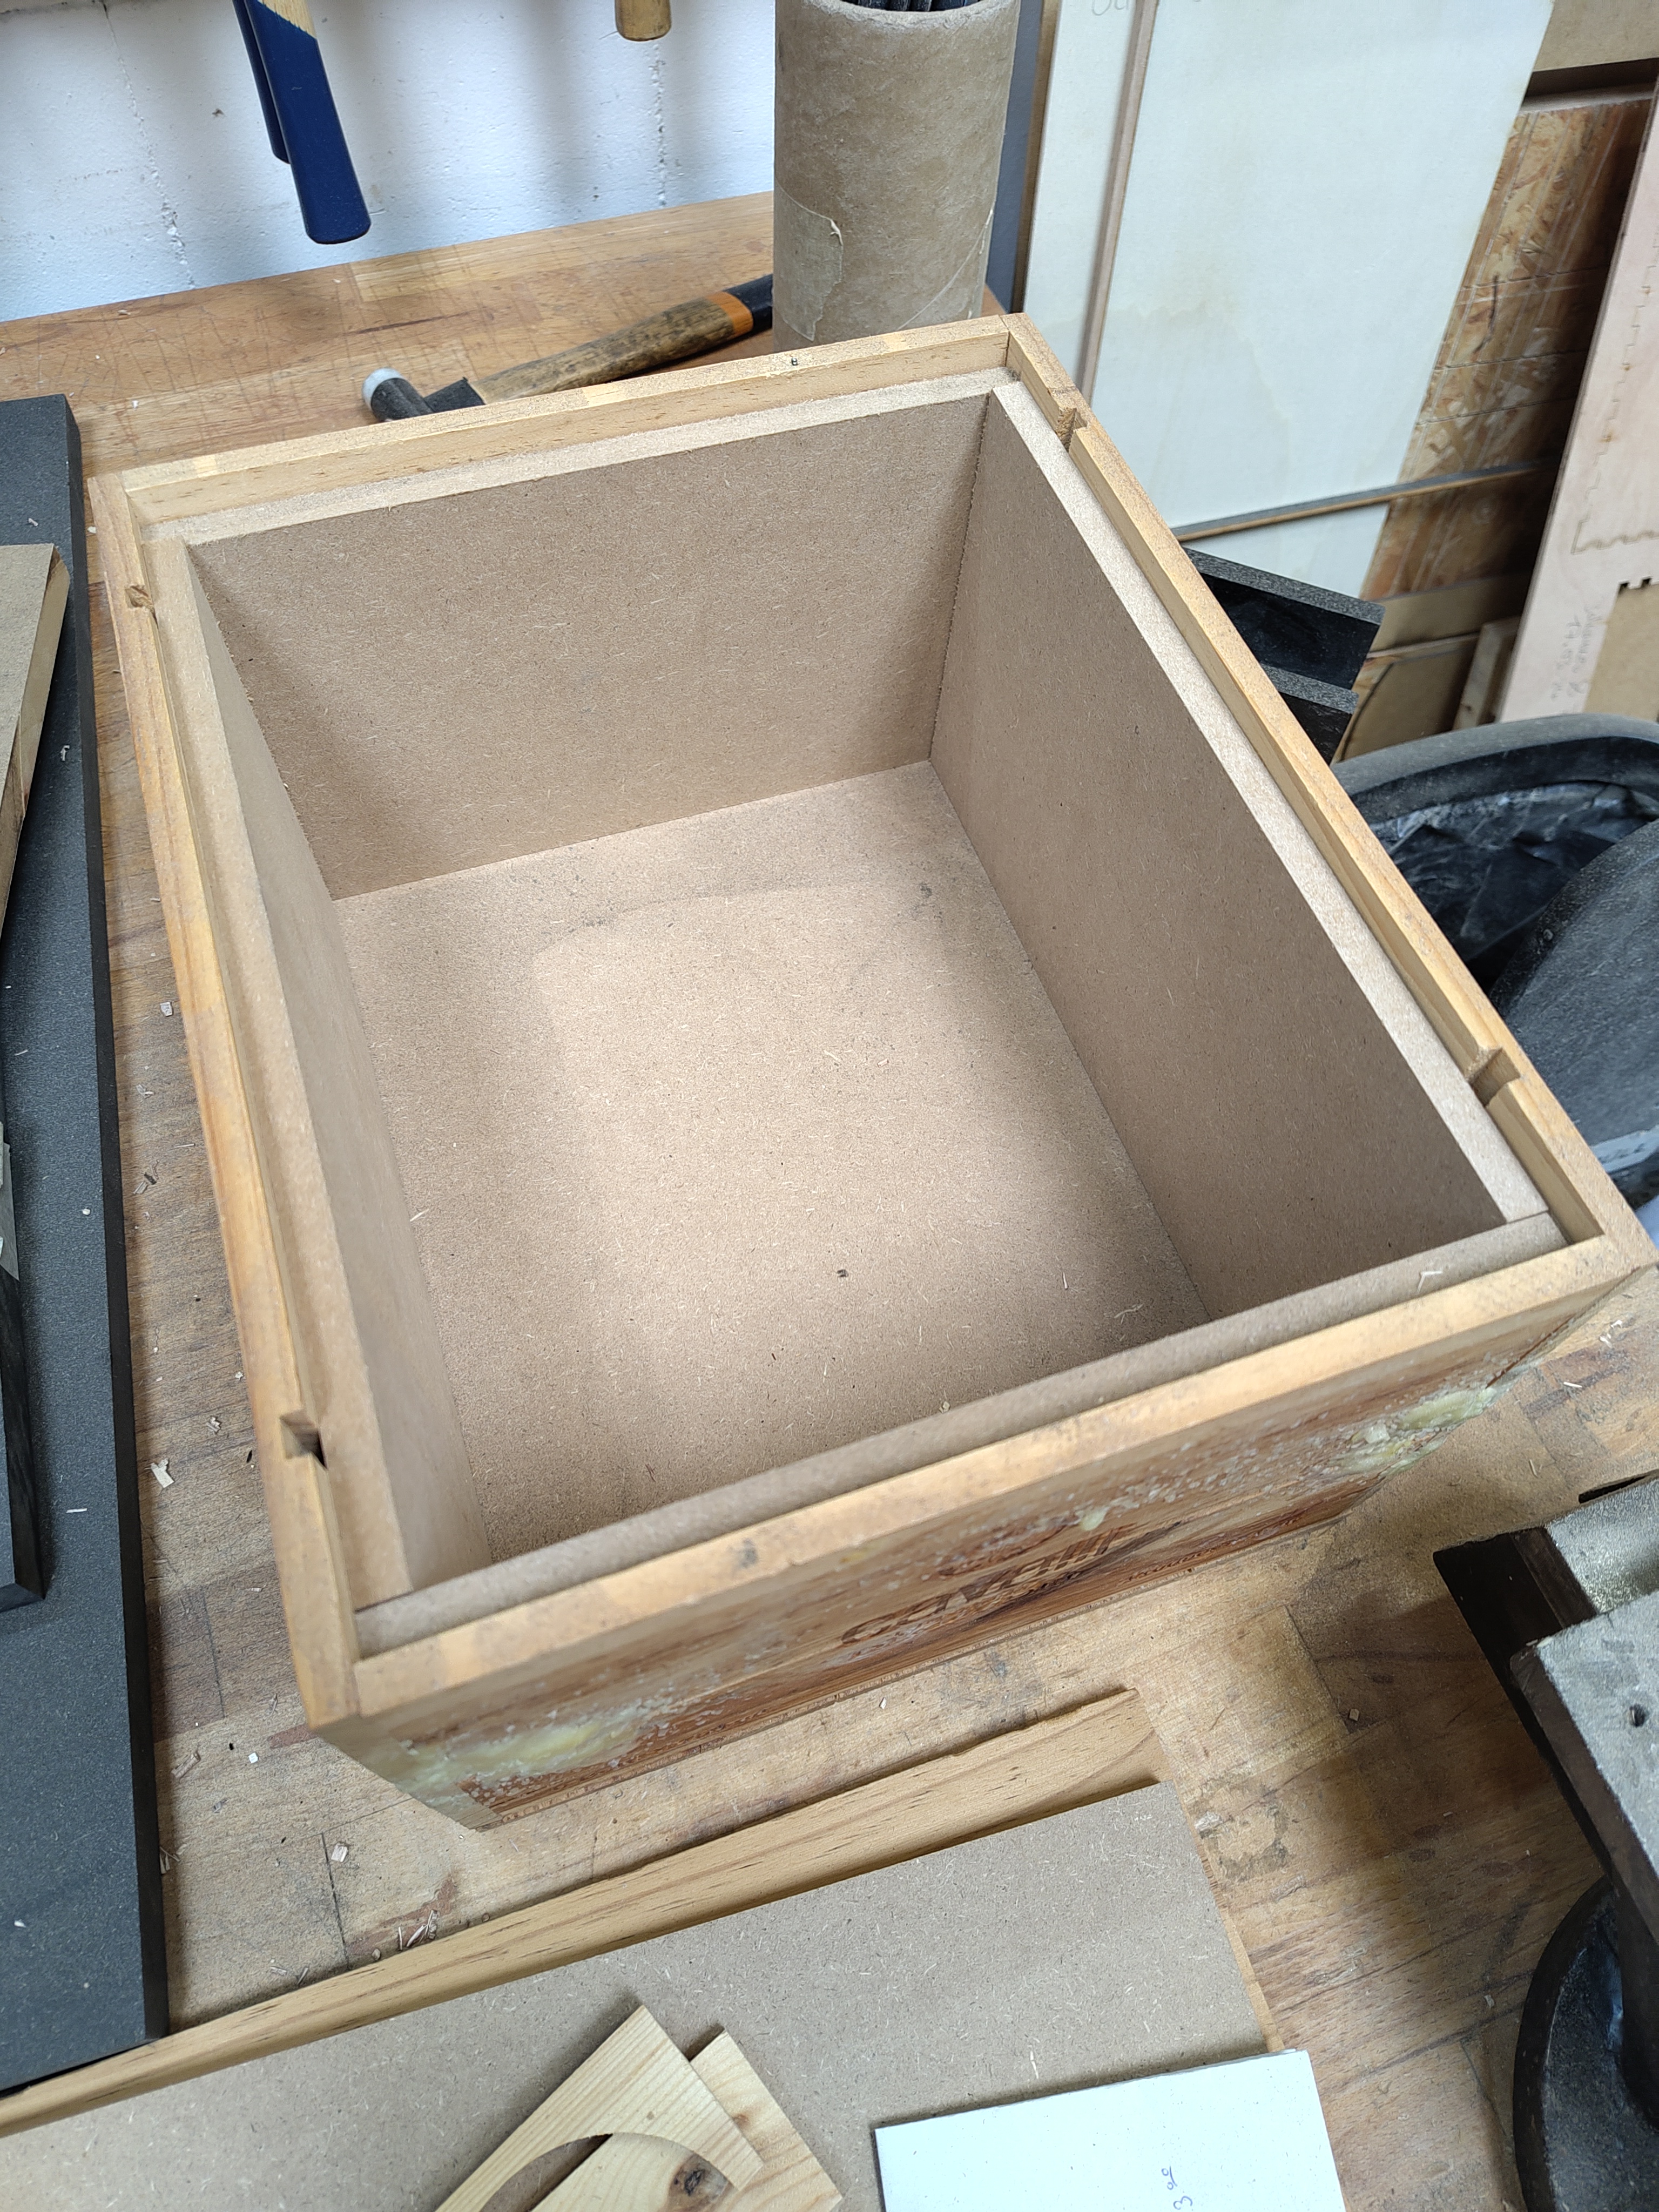
My audiophile friend insisted that the wood of the box was too thin for a proper speaker, so the first thing I did was to build a box into the box using cheap MDF boards. In the beginning I was unsure whether I wanted to glue it shut, because I was (rightfully) worried, that I might need to get to the SD card if the Raspberry Pi installation is broken. Then my friend pointed out that I could probably reach everything though the hole for the larger driver, so I decided to just glue the lid too, once I had all the components fixed inside. But first, I used a hole drill to drill the holes for the drivers and the bass reflex tube, and since the biggest one we had was not big enough and also blunt, I had to improvise a little.
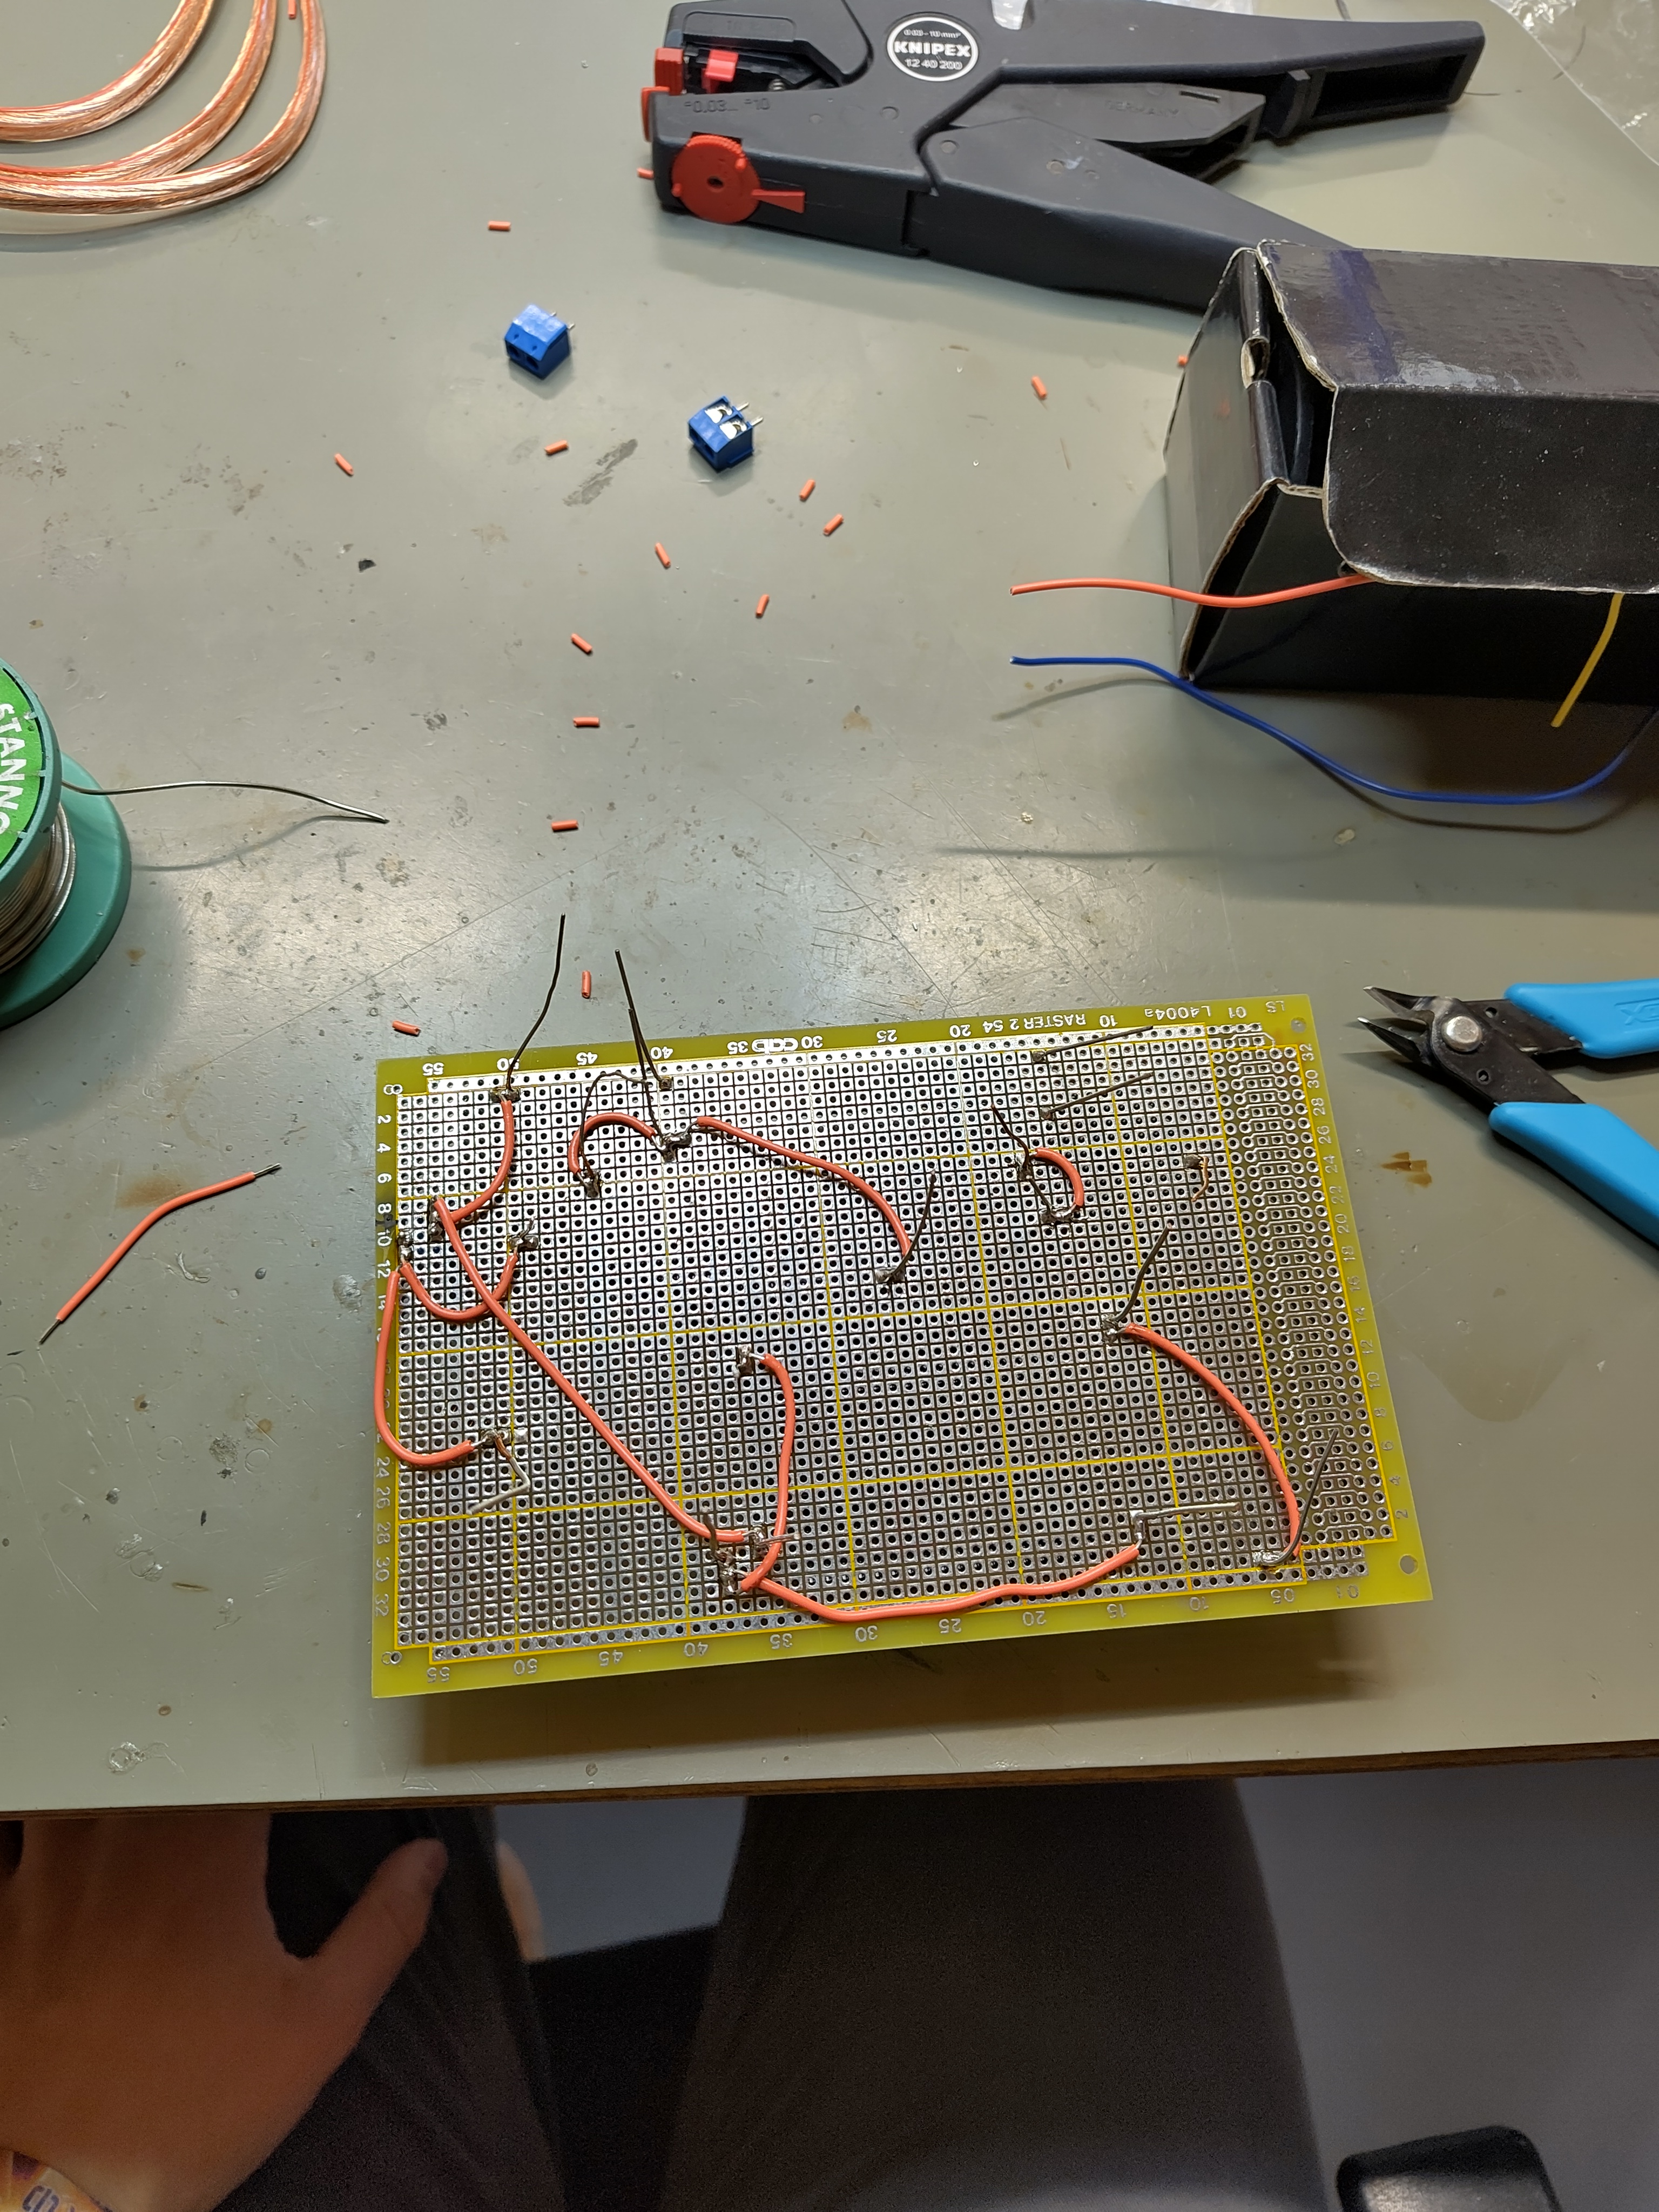
Next came the electronics part. The speaker kit contains all necessary components for a frequency divider circuit, but you have to solder it yourself. While I do solder every now and then, it's not often on breadboard, and I felt really clumsy doing it, but in the end it worked. As power supply I picked the first one that my local electronic shop had that was not too expensive, not too big, but still supplies enough Watt. One lesson I learned from the first speaker was that it's not worth my time to build an amplifier myself (and trying to do so would significantly lower my chances for success). In anticipation of my next self built speaker I had already bought a Hifiberry Amp2 years ago, and this is what I used now. It does take anything from 12V to 24V as input voltage and does also supply the Raspberry Pi it is plugged on with power, so no more parts were needed.
Once the frequency divider was completed I already tested it with a different power supply I had on hand. It worked on the first try! :) Almost ... I got no sound from the bigger driver and realized that I had wired them up the wrong way round. After fixing this I got a much better sound quality.
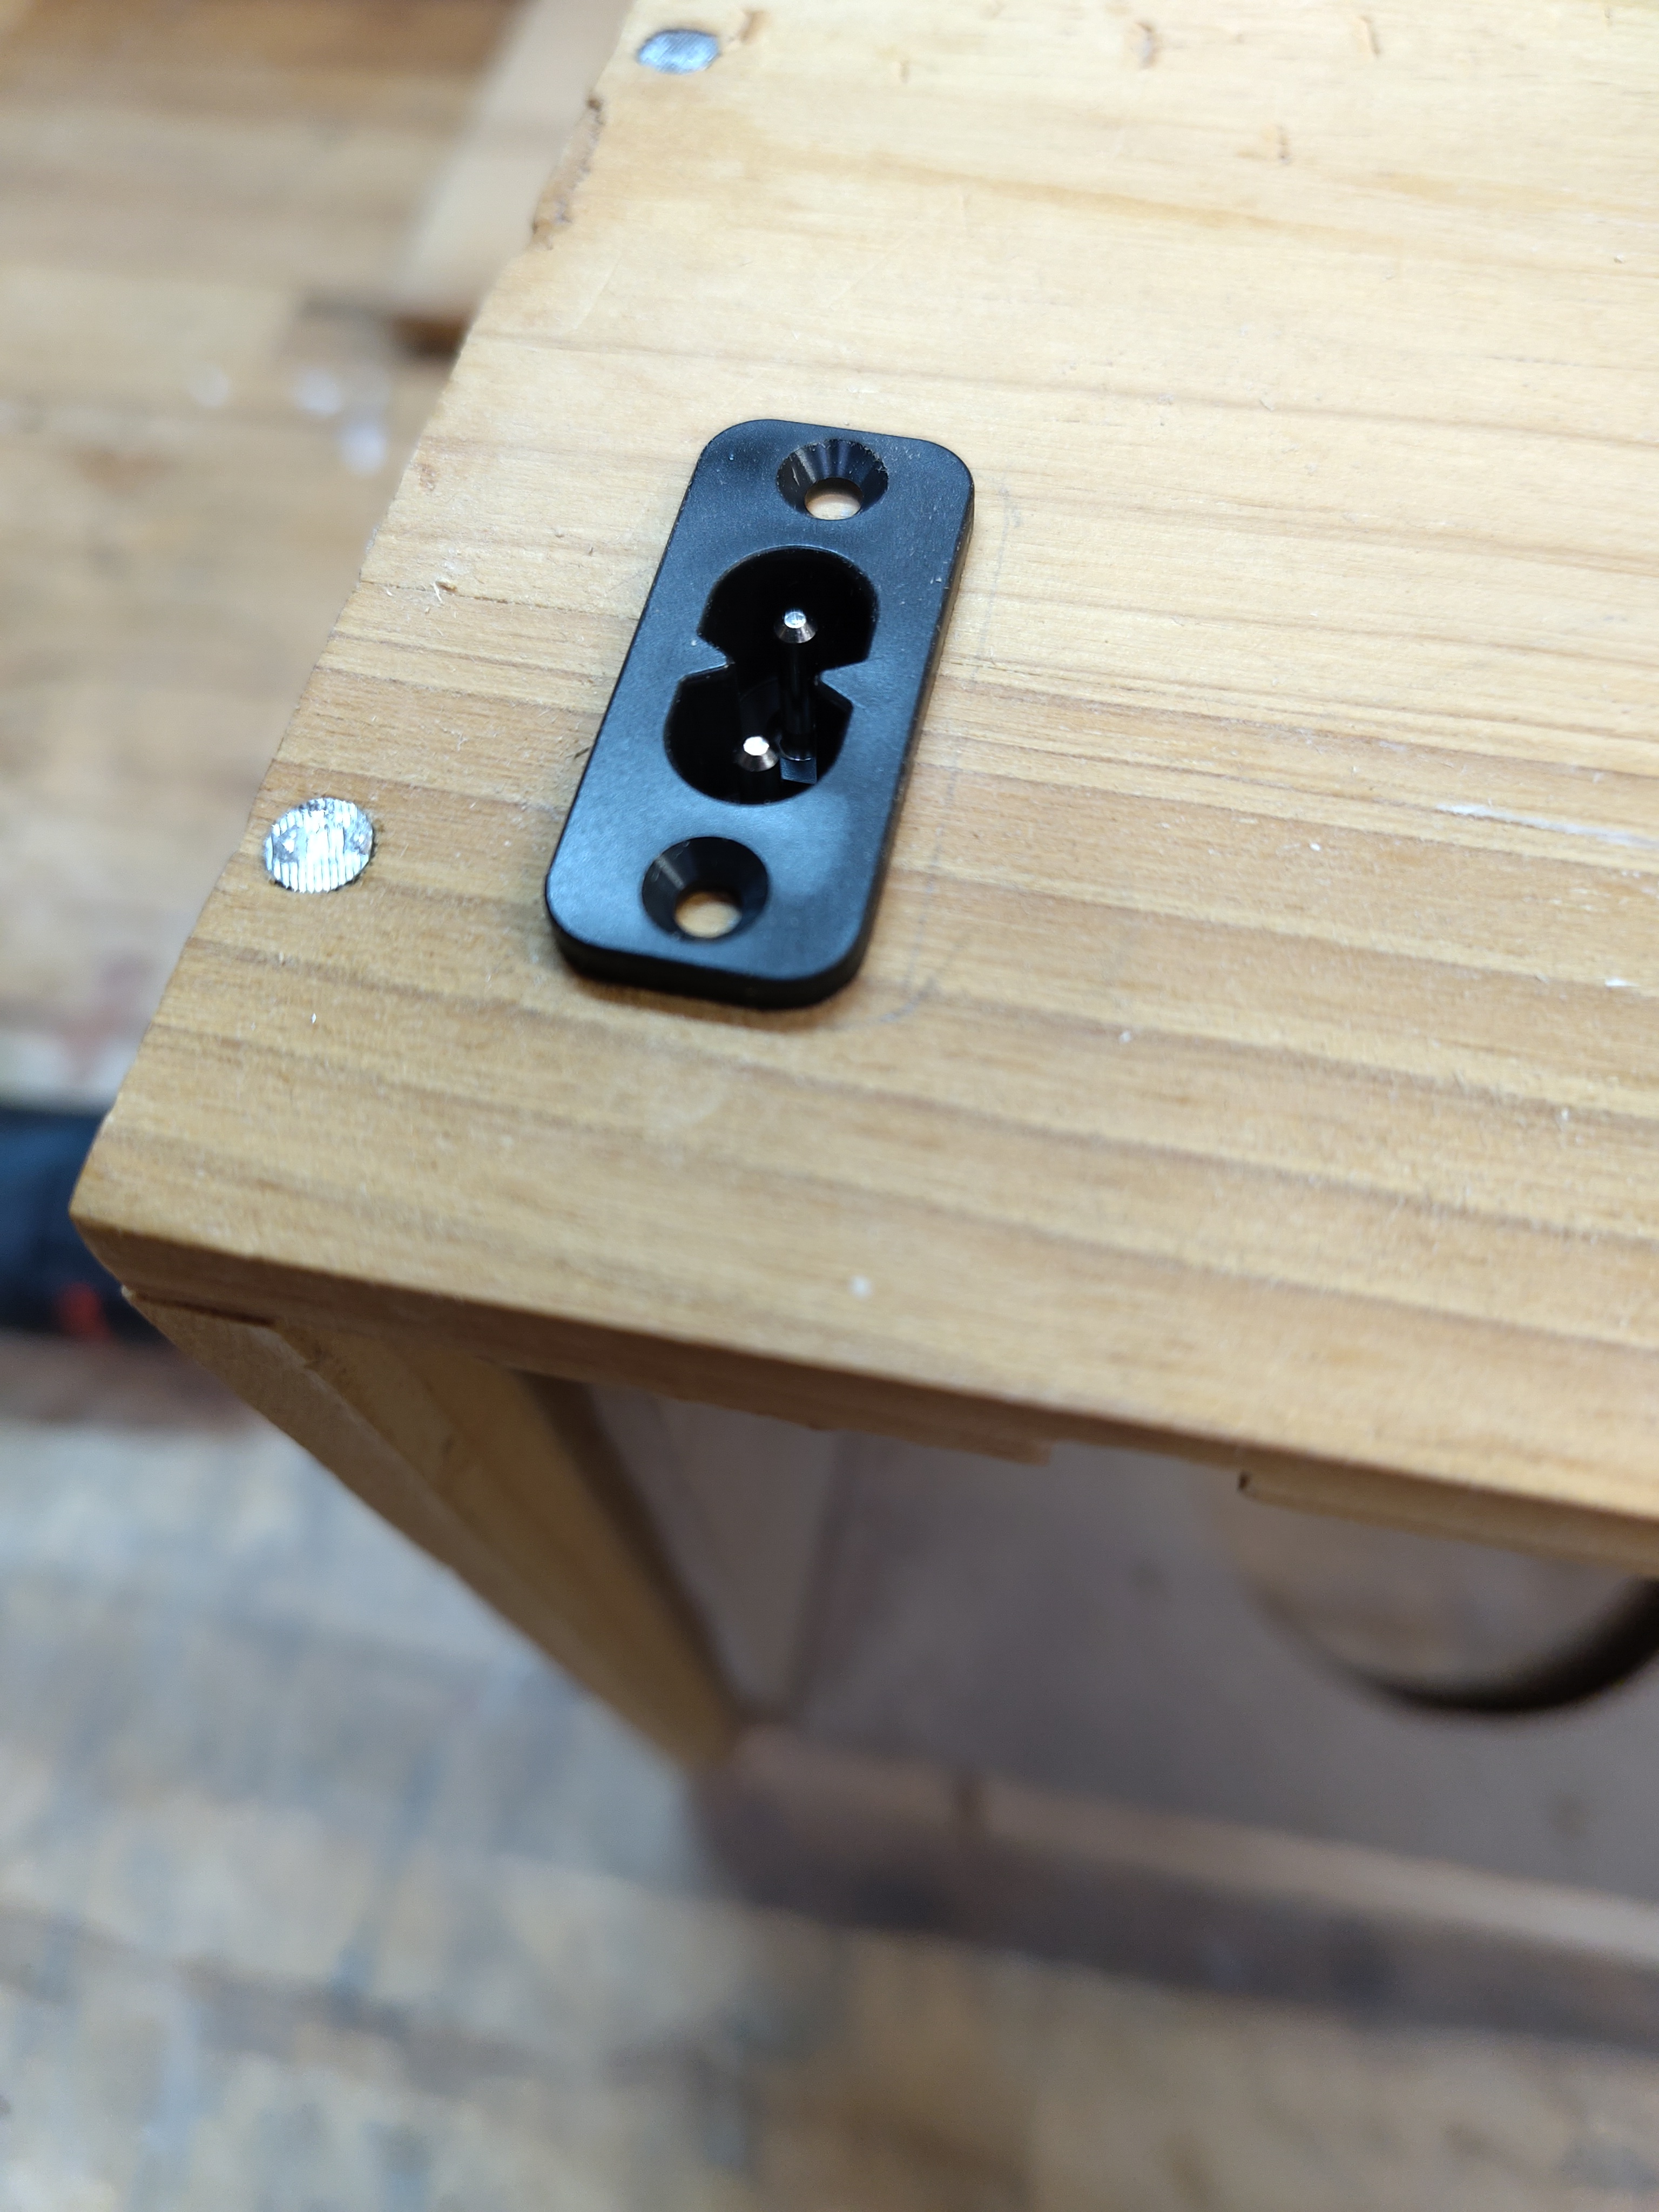
To finish it up I had to mount the power connector. At first I debated using a routing maching to create a deepening which would make it flush with the wooden surface. After a while I realized it would be too much work to do it well and just screwed it onto the box directly. Then I glued the lid shut. Before fully assembling, I sanded it down a bit and oiled it which made it look much more polished. Finally, the only thing left to do was filling the inside with the insulating mat of the speaker kit and connecting and fixing the drivers with screws to the box.
As for the software the Raspberry Pi is running, for now it's a regular Raspbian installation. I had to enable the correct device tree overlay according to the official documentation to make the amplifier work. At some point I broke it such that I was still seeing the sound card but didn't get any output anymore. I think the error was explicitly enabling the I2C module. Right now it's only running the spotifyd software so that we can use it with Spotify as external "smart" speaker. In the future I'd like to add at least the ability to use it as a Bluetooth speaker and an automation where it will open a Wifi hotspot if it can't connect to an existing Wifi network, so that you can connect to it via SSH and set up a new Wifi connection.
That's it! It's really not too difficult if you stick to existing amplifier boards and speaker kits. Be warned though, it is probably addicting ...